
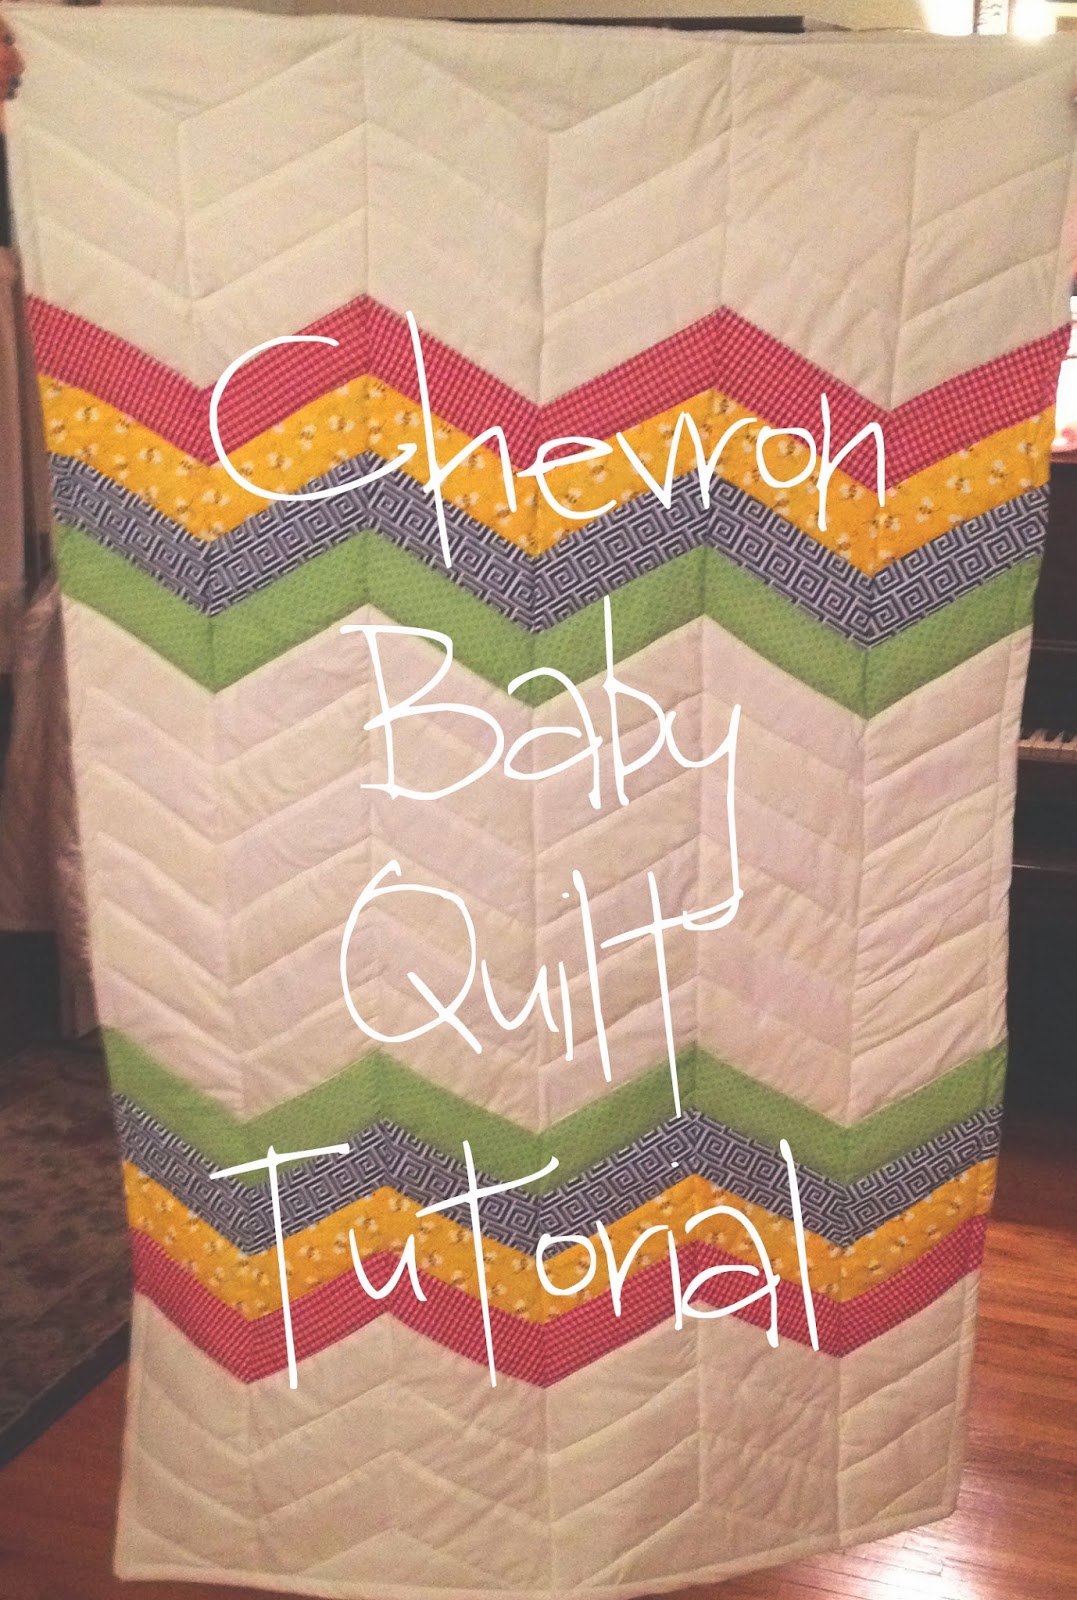
Chevron Baby Quilt Tutorial
So I finally finished the baby quilt I've been working on for the last month! Mad props to David for all the help he gave me -- I'm so excited to share this with y'all, and also with my future self when I forget how I did this and I have another child that I need to make a quilt for.
Step 1: Plan Yer Quilt
I looked to the internet-mother of all things creative, Pinterest, to decide that I wanted to do a chevron quilt. I wanted to make sure it was gender neutral, baby-like but not too baby-ish, and a crib size (rather than a bigger size for the babe to "grow into"). I found awesome tutorials such as this one and set out making my plan.
My plan looked like this:

Because I am terrible with math, angles, and pretty much anything that involves numbers, David was a big help here. We decided that we wanted the finished quilt to be about 54" x 36" (more on that later), with each stripe being 2.5" wide and at a 30° angle. (We tried 45°, but it was too drastic when laid out next to each other.)
There was obviously no way I was going to measure that every time, so I used my handy trash-paper Victoria's Secret magazine and made a template.
Step 2: Buy Fabric
Then I bought fabrics: 1/2 yard in each color that I wanted (4 colors total) and about 2 yards white/cream combo. I had way more color than I needed, and had to go back to the store to get more white, so those are approximations.
I also bought a roll of quilt batting, specifically sized for baby quilts, and some cheap muslin for the back (3 yards, I think, which was plenty).
Step 3: Cut, Cut, Cut...til your hands fall off

Then I used my rotary cutter and self-healing board (which I highly highly recommend if you're new to quilting -- they are both life and time-savers BIG time), along with a self-erasing fabric pen to cut piece after piece. It was exhausting.
A big thing to remember: if you're cutting fabric that has a printed pattern on only one side, half of your pieces need to be angled one way, and the other half the other way. If you're doing white or something that's the same, just cut 'em all the same and switch them around when you get to sewing.
Eventually, I had all my stacks (vertical rows, really) set out the way I wanted.


Maybe if you have a great memory, you don't really need to do this step, but I am forgetful so I just stacked them exactly the way I wanted them so once I started sewing I didn't have to worry about it.
Step 5: Sew "squares" together

To make sure you don't have weird, non-matchy ends, David figured out that you have to space your pieces like the pic shows above, with a tiny triangle overlapping on each end. Don't ask me the mathematical reasoning behind that, because my brain can't even comprehend it, let alone tell someone else how it works.
NOW IRON YOUR SEAMS DOWN (from the back side). I'd always read that this was important to do, but never had the time/energy to do so. After doing it with this quilt, I will always 100% recommend it. It was super helpful for getting the fabric to lay flat, and especially since I machine-quilted in the ditch. Very very important.
Step 6: Sew vertical lines together

Here's a completely unhelpful photo of David doing this step. Things to remember here: how much did you allow for seams in your plans? We had 1/2" allowed on each side in our pattern, and ended up sewing the hems a little short so the quilt ended up wider than planned. Whoops.
Step 7: Approximate how big the gappy triangles are at the end and cut & sew those, too
Step 8: Lay out your backing, batting, and quilted top in the correct order


Step 1: Plan Yer Quilt
 |
| for a much better tutorial, click HERE |
My plan looked like this:
Because I am terrible with math, angles, and pretty much anything that involves numbers, David was a big help here. We decided that we wanted the finished quilt to be about 54" x 36" (more on that later), with each stripe being 2.5" wide and at a 30° angle. (We tried 45°, but it was too drastic when laid out next to each other.)
There was obviously no way I was going to measure that every time, so I used my handy trash-paper Victoria's Secret magazine and made a template.
 |
| I took a picture of the non-scandalous side. You're welcome. |
Then I bought fabrics: 1/2 yard in each color that I wanted (4 colors total) and about 2 yards white/cream combo. I had way more color than I needed, and had to go back to the store to get more white, so those are approximations.
I also bought a roll of quilt batting, specifically sized for baby quilts, and some cheap muslin for the back (3 yards, I think, which was plenty).
Step 3: Cut, Cut, Cut...til your hands fall off
A big thing to remember: if you're cutting fabric that has a printed pattern on only one side, half of your pieces need to be angled one way, and the other half the other way. If you're doing white or something that's the same, just cut 'em all the same and switch them around when you get to sewing.
Eventually, I had all my stacks (vertical rows, really) set out the way I wanted.
Maybe if you have a great memory, you don't really need to do this step, but I am forgetful so I just stacked them exactly the way I wanted them so once I started sewing I didn't have to worry about it.
Step 5: Sew "squares" together
To make sure you don't have weird, non-matchy ends, David figured out that you have to space your pieces like the pic shows above, with a tiny triangle overlapping on each end. Don't ask me the mathematical reasoning behind that, because my brain can't even comprehend it, let alone tell someone else how it works.
NOW IRON YOUR SEAMS DOWN (from the back side). I'd always read that this was important to do, but never had the time/energy to do so. After doing it with this quilt, I will always 100% recommend it. It was super helpful for getting the fabric to lay flat, and especially since I machine-quilted in the ditch. Very very important.
Step 6: Sew vertical lines together
Here's a completely unhelpful photo of David doing this step. Things to remember here: how much did you allow for seams in your plans? We had 1/2" allowed on each side in our pattern, and ended up sewing the hems a little short so the quilt ended up wider than planned. Whoops.
Step 7: Approximate how big the gappy triangles are at the end and cut & sew those, too
 |
| I told you, David helped a LOT during this project |
I had a mental dilemma here, because the batting I bought was self-adhesive -- in other words, you can iron it onto your layers and it'll stick enough to be quilted without pins or anything. Buuuut I wasn't planning on doing a bias-tape quilt (which is more advanced than my sewing experience) so I went the lazy/easy way and just pinned them as if it was normal batting.
Step 9: Sew 3 sides of your quilt together, after pinning in place
I purposefully left my backing bigger for this step, just in case I messed up, and cut it after I had sewn all three of the seams I wanted (two long sides and one short side is the easy way to do it).
You can't tell very well in this photo but I used quilting safety pins, which are bent in the middle so they're easy to insert and take out without messing up the placement of your fabrics.
Try and sew as straight as possible on this step, because these are going to be the sides of your quilt finished -- and you can tell pretty easily if it's a janky hem.
Step 10: Turn it right side out and admire your almost-finished quilt!
At this point, I decided to iron the whole thing, in hopes that the batting would sort of fuse together and make it less wrinkly. It worked really well! I will definitely try this sort of batting again, especially in a bigger quilt, because I didn't have to pin hardly anything to get it to stay together. It was awesomesauce.
Step 11: Sandwich and sew your open edge
There's no real formula to doing this, besides picking your shortest point and working in a straight line from there, pinning profusely as you go, sticking the unfinished sides inside your quilt, obviously.
I never worry too much about the line being a little bit wibbly, because in my opinion a home-sewn quilt should look home-sewn, but if you are you can always measure and pin and re-pin to your heart's content until it's perfect.
Then take the pins out one at a time and sew it together very carefully!
Step 12: Sew a "border" around your whole quilt
This will give your quilt a nice, finished look, as well as keep all your edges looking the same. I sewed in about half an inch, but you can make it as wide or as skinny as you like.
Step 13: Quilt!!!
Some people do this by hand, or with fancy sewing machine attachments, but I'm poor and have no time to hand-quilt an entire quilt. So, I quilted "in the ditch" (which means everywhere there was already a seam on my quilt) using my normal settings on my cheap-o sewing machine.
To avoid puckering, I pulled each side of the fabric taut as I let my machine go. It's not a perfect method, but as long as your fabrics aren't too thick, it should work relatively well.
Here's a picture of the back about halfway through:
Even though I used a machine, it still has that nice hand-made, puffy, quilted aspect that is so easy to love.
Step 14: Admire your finished quilt!
Step 14: Admire your finished quilt!
Excuse my terrible photos because we don't have a clothesline to pin it up on and all I've got is an iPhone. But you can see what it looks like!
Also, the left side isn't that crooked -- it just looks goofy because my arms aren't long enough to hold all the sides straight all the way down.
But there you go! Hope you enjoyed my terrible tutorial.
Happy sewing --
HG
Also, the left side isn't that crooked -- it just looks goofy because my arms aren't long enough to hold all the sides straight all the way down.
But there you go! Hope you enjoyed my terrible tutorial.
Happy sewing --
HG
I have been thinking about this quilt ever since you first posted it... and I got a fancy sewing and quilting machine for christmas... so I am thinking about making a similar design but small, for placemats... wish me luck!!
ReplyDelete